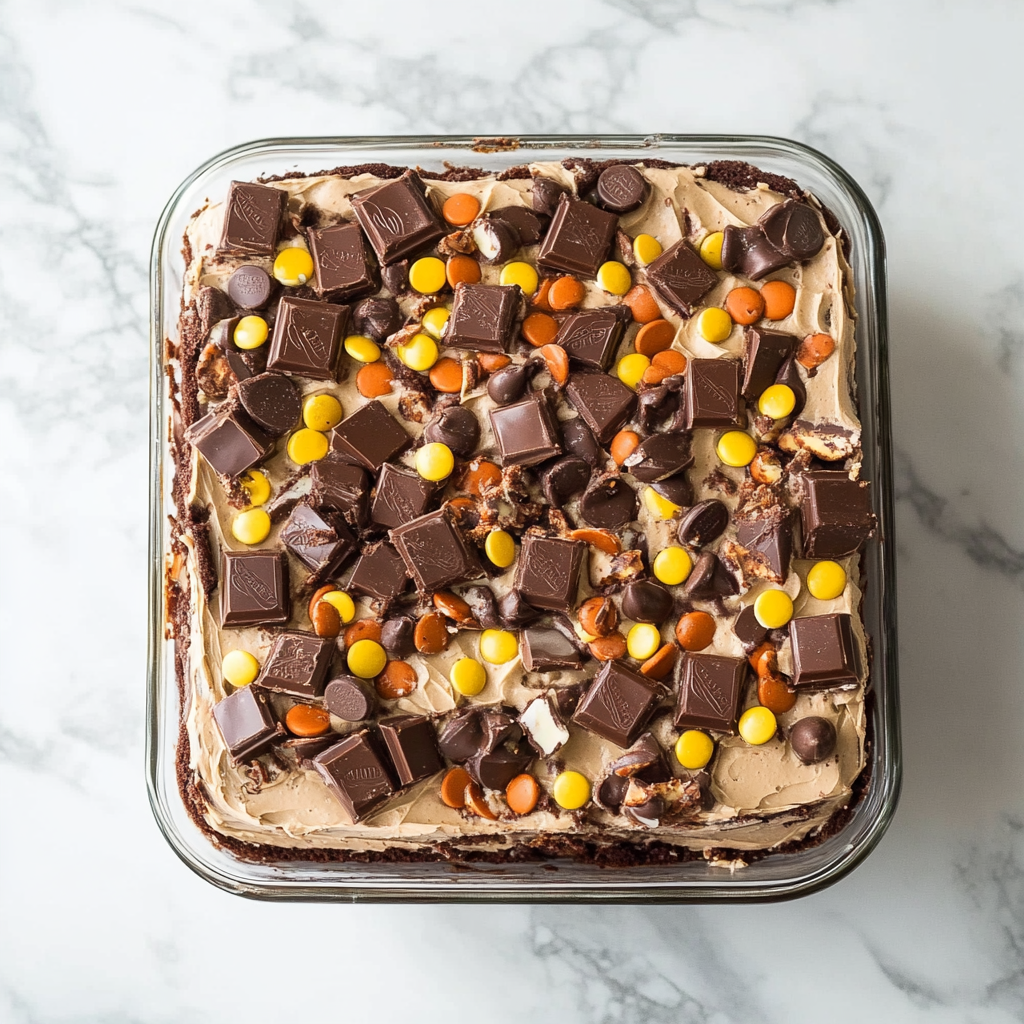
Reese’s Peanut Butter Earthquake Cake
If you’re looking for a dessert that feels like a warm hug, let me introduce you to my beloved Reese’s Peanut Butter Earthquake Cake. This cake is a delightful combination of rich chocolate and creamy peanut butter, creating an experience that’s simply unforgettable. It’s perfect for those busy weeknights when you need a sweet treat to lift everyone’s spirits, or for family gatherings where you want to impress without spending hours in the kitchen. Trust me, this cake is sure to become a favorite!
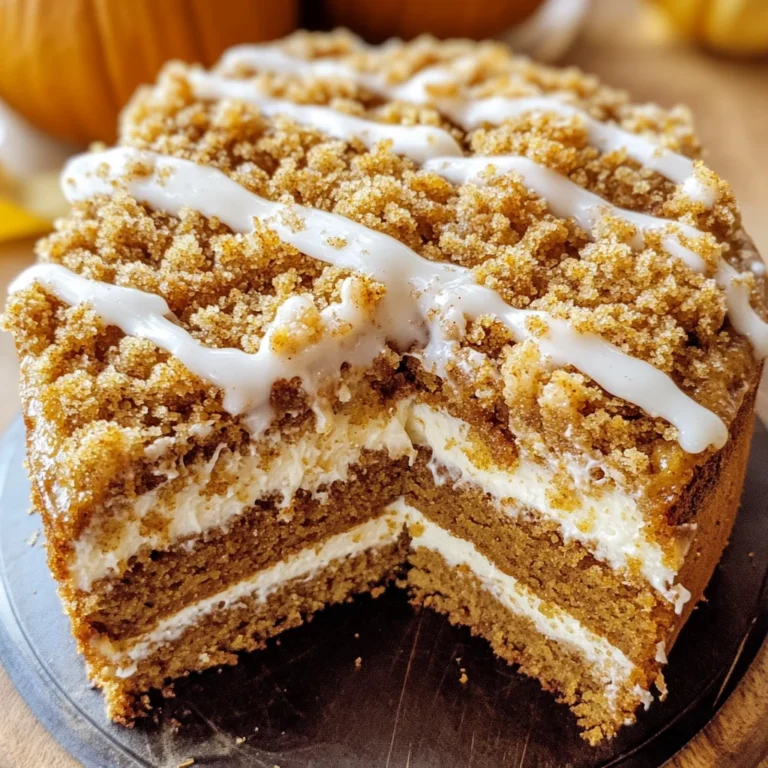
The gooey center and crunchy topping will have your friends and family asking for seconds (and thirds!). The best part? It’s easy to prepare, making it a go-to recipe whenever you need something special.
Why You’ll Love This Recipe
- Quick and Easy: With just a few simple steps, you can whip up this delicious cake in no time.
- Family Favorite: The combination of chocolate and peanut butter appeals to both kids and adults alike!
- Perfect for Any Occasion: Whether it’s a birthday party or a cozy night in, this cake fits right in.
- Make-Ahead Friendly: Bake it ahead of time and enjoy it later—this cake stays moist and tasty for days!
- Decadent Flavor: The rich layers of chocolate and peanut butter create an indulgent dessert experience that’s hard to resist.
Ingredients You’ll Need
You don’t need fancy ingredients for this Reese’s Peanut Butter Earthquake Cake. Just some simple, wholesome items that you probably have on hand! Here’s what you’ll need:
- 1 box chocolate cake mix
- 1 cup water
- 1/2 cup vegetable oil
- 3 large eggs
- 1 cup creamy peanut butter
- 8 oz cream cheese, softened
- 1/2 cup unsalted butter, melted
- 4 cups powdered sugar
- 1 tsp vanilla extract
- 1 cup Reese’s Peanut Butter Cups, chopped
Variations
This recipe is wonderfully flexible! Here are some variations to spark your creativity:
- Add nuts: For a crunchy twist, sprinkle some chopped peanuts over the top before baking.
- Use different candies: Swap out Reese’s Cups for your favorite candy bars, like Snickers or Milky Way.
- Go gluten-free: Use a gluten-free chocolate cake mix to make this dessert suitable for those with dietary restrictions.
- Make it extra chocolatey: Add chocolate chips into the batter for an even richer flavor.
How to Make Reese’s Peanut Butter Earthquake Cake
Step 1: Preheat the Oven
Preheat your oven to 350°F (175°C) and grease a 9×13-inch baking dish. This step is essential as it ensures your cake bakes evenly and doesn’t stick.
Step 2: Prepare the Cake Batter
In a large bowl, mix together the chocolate cake mix, water, vegetable oil, and eggs until well combined. Pour the batter into the prepared baking dish. This chocolate base sets the stage for our delicious layers!
Step 3: Mix the Peanut Butter Layer
In another bowl, combine creamy peanut butter, softened cream cheese, melted butter, powdered sugar, and vanilla extract. Mix until smooth. This layer is where all that rich flavor comes from—it adds creaminess and sweetness that perfectly complements the chocolate.
Step 4: Swirl It Together
Drop spoonfuls of the peanut butter mixture over the cake batter. Use a knife to gently swirl it into the batter. Swirling creates those beautiful “earthquake” marks that give this cake its name!
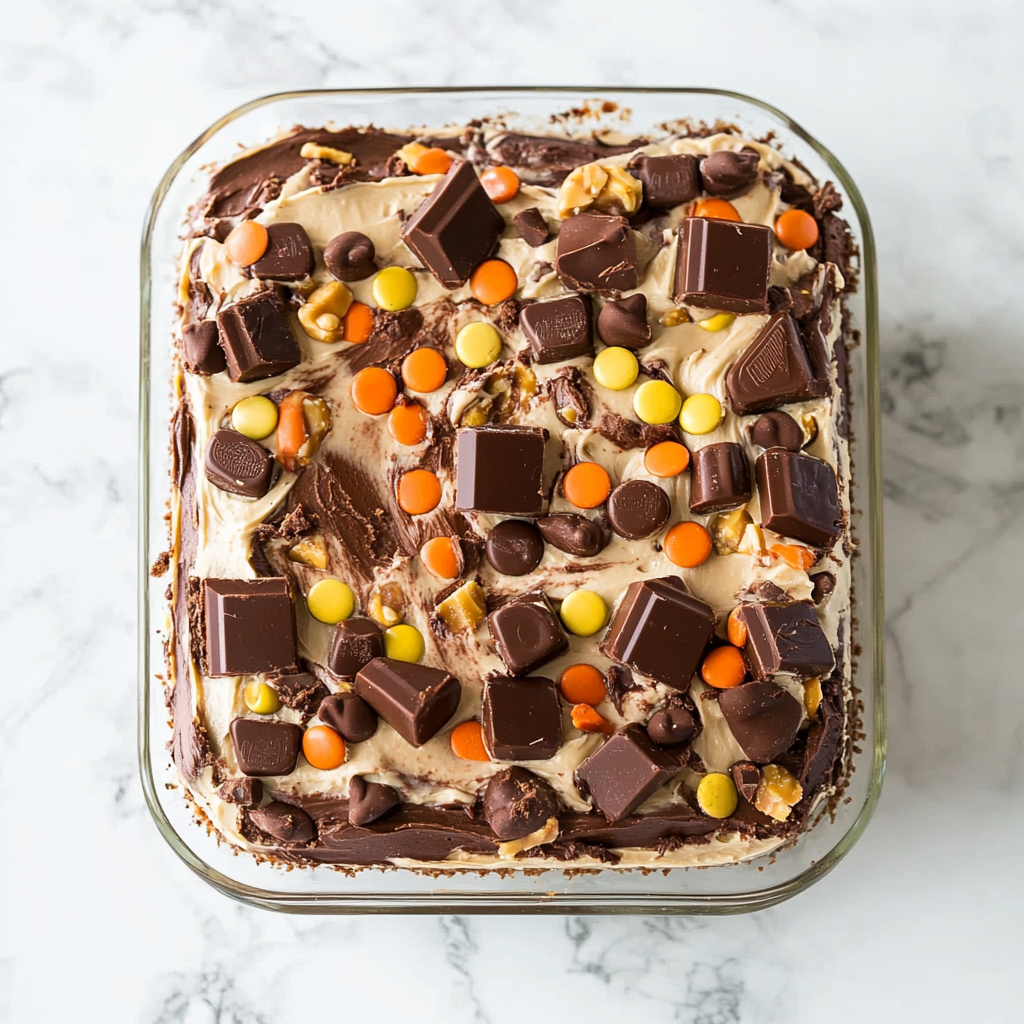
Step 5: Add Toppings
Sprinkle chopped Reese’s Peanut Butter Cups evenly over the top of your swirled batter. These little pieces will melt slightly during baking, adding bursts of flavor throughout each slice.
Step 6: Bake!
Bake in your preheated oven for about 35-40 minutes or until a toothpick inserted into the center comes out mostly clean. Keep an eye on it—the aroma will be irresistible!
Step 7: Cool and Serve
Allow the cake to cool slightly before serving. Enjoy it warm or at room temperature—both ways are absolutely delightful!
This Reese’s Peanut Butter Earthquake Cake is not just food; it’s an experience filled with joy and comfort that you’ll want to share again and again!
Pro Tips for Making Reese’s Peanut Butter Earthquake Cake
Baking can sometimes feel intimidating, but with these pro tips, you’ll create a delightful dessert that everyone will rave about!
- Use room temperature ingredients: Ensuring your eggs and cream cheese are at room temperature helps them blend together smoothly, resulting in a rich and creamy peanut butter mixture that complements the cake beautifully.
- Don’t overmix the batter: Mixing just until combined prevents the cake from becoming tough. A light hand will keep it moist and airy, perfect for that gooey center we all love.
- Swirl with care: When swirling the peanut butter mixture into the cake batter, use a gentle hand. This creates beautiful marbled patterns without completely blending the two layers, giving you that signature “earthquake” effect.
- Adjust baking time based on your oven: Every oven is different! Keep an eye on your cake as it bakes—check for doneness a few minutes early to prevent overbaking. A toothpick should come out mostly clean but with a few moist crumbs.
- Serve warm for maximum indulgence: This cake is exceptionally delightful when served warm, allowing the gooey peanut butter center to shine through. You can even pop individual slices in the microwave for a few seconds before serving!
How to Serve Reese’s Peanut Butter Earthquake Cake
Serving this decadent cake is just as fun as making it! Here are some ideas to present it beautifully and elevate everyone’s experience.
Garnishes
- Whipped coconut cream: A dollop of whipped coconut cream adds a light and fluffy contrast to the rich cake while being vegan-friendly.
- Chocolate drizzle: Drizzling some melted dairy-free chocolate on top not only looks stunning but also enhances the chocolate flavor of the cake.
- Chopped peanuts: Sprinkling chopped peanuts on top provides an extra crunch that complements the creamy peanut butter beautifully.
Side Dishes
- Fresh fruit salad: A vibrant mix of seasonal fruits refreshes the palate after indulging in rich dessert, balancing sweetness with natural acidity.
- Vanilla ice cream (dairy-free options available): The cold creaminess of ice cream pairs perfectly with warm cake, creating a comforting contrast that everyone loves.
- Coffee or tea: Serving hot beverages alongside your dessert can enhance flavors and provide a cozy atmosphere for enjoying every bite.
- Chocolate chip cookies: A plate of warm chocolate chip cookies alongside adds another layer of dessert fun, making your gathering even sweeter!
Enjoy making and sharing this delicious Reese’s Peanut Butter Earthquake Cake—it’s sure to become a favorite at any gathering!
Make Ahead and Storage
This Reese’s Peanut Butter Earthquake Cake is not only a delicious treat but also perfect for meal prep! You can easily make it ahead of time, allowing you to enjoy dessert without the last-minute rush. Here are some practical tips for storing, freezing, and reheating this delightful cake:
Storing Leftovers
- Allow the cake to cool completely before storing.
- Cover the dish with plastic wrap or transfer slices to an airtight container.
- Store in the refrigerator for up to 5 days.
Freezing
- Slice the cake into portions or freeze it whole.
- Wrap each piece tightly in plastic wrap, then place in a freezer-safe bag or container.
- Freeze for up to 3 months. For best results, label with the date!
Reheating
- Thaw frozen slices in the refrigerator overnight before reheating.
- To reheat, place a slice on a microwave-safe plate and heat for about 15-20 seconds or until warm.
- Alternatively, you can warm individual slices in an oven set to 350°F (175°C) for about 10 minutes.
FAQs
Have some questions? You’re not alone! Here are a few common inquiries about making this delightful dessert:
Can I use a different cake mix for Reese’s Peanut Butter Earthquake Cake?
Absolutely! While chocolate cake mix complements the peanut butter flavor beautifully, you can experiment with other flavors like vanilla or even red velvet for a fun twist.
What makes Reese’s Peanut Butter Earthquake Cake so special?
The gooey peanut butter center combined with chunks of Reese’s cups creates an indulgent experience that elevates this cake beyond typical desserts. It’s perfect for any occasion!
How should I store my Reese’s Peanut Butter Earthquake Cake?
Store it in the refrigerator covered tightly or in an airtight container. It will stay fresh for up to 5 days when properly stored.
Can I add nuts to my Reese’s Peanut Butter Earthquake Cake?
Definitely! Chopped peanuts or walnuts can add an extra crunch and enhance the flavor profile of your cake.
Final Thoughts
I hope you’ll give this Reese’s Peanut Butter Earthquake Cake a try! It’s rich, gooey, and simply irresistible—perfect for sharing with family and friends. Enjoy making it as much as you will enjoy eating it! Happy baking!
Reese’s Peanut Butter Earthquake Cake
Indulge in the delightful flavors of Reese’s Peanut Butter Earthquake Cake, a dessert that brings together rich chocolate and creamy peanut butter for an unforgettable treat. This easy-to-make cake features a gooey center and a crunchy topping, making it perfect for family gatherings or those cozy nights when you crave something special. With just a few simple steps, you can impress your guests and satisfy your sweet tooth without spending hours in the kitchen. This cake is versatile enough to adapt to your preferences, whether you want to add nuts or swap in your favorite candy. Trust us—this cake will quickly become a beloved favorite!
- Prep Time: 15 minutes
- Cook Time: 40 minutes
- Total Time: 55 minutes
- Yield: Serves approximately 12 slices 1x
- Category: Dessert
- Method: Baking
- Cuisine: American
Ingredients
- 1 box chocolate cake mix
- 1 cup water
- 1/2 cup vegetable oil
- 3 large eggs
- 1 cup creamy peanut butter
- 8 oz cream cheese, softened
- 1/2 cup unsalted butter, melted
- 4 cups powdered sugar
- 1 tsp vanilla extract
- 1 cup Reese’s Peanut Butter Cups, chopped
Instructions
- Preheat your oven to 350°F (175°C) and grease a 9×13-inch baking dish.
- In a large bowl, mix the chocolate cake mix, water, vegetable oil, and eggs until smooth. Pour into the prepared dish.
- In another bowl, combine creamy peanut butter, softened cream cheese, melted butter, powdered sugar, and vanilla extract until smooth.
- Drop spoonfuls of the peanut butter mixture onto the cake batter and gently swirl with a knife.
- Sprinkle chopped Reese’s Peanut Butter Cups evenly on top.
- Bake for about 35-40 minutes until a toothpick comes out mostly clean.
- Allow cooling slightly before serving warm or at room temperature.
Nutrition
- Serving Size: 1 slice (85g)
- Calories: 350
- Sugar: 34g
- Sodium: 250mg
- Fat: 17g
- Saturated Fat: 6g
- Unsaturated Fat: 10g
- Trans Fat: 0g
- Carbohydrates: 44g
- Fiber: 2g
- Protein: 6g
- Cholesterol: 55mg